Peace lilies are beloved houseplants known for their striking green leaves and elegant white blooms. However, during the winter months, your peace lily may start to show signs of stress due to the indoor heating systems that dry out the air. As these plants are native to tropical regions, they thrive in environments with high humidity and consistent moisture. When winter heat dries the air, it can lead to a range of issues for your lily, from drooping leaves to brown tips.
Understanding how to address these issues is key to maintaining a healthy peace lily throughout the colder months. By making a few adjustments to your plant care routine and environment, you can help your peace lily regain its vibrancy and health. In this article, we will explore various strategies to perk up a sad peace lily affected by winter heat.
Advertisement
1. Spot the Signs Your Peace Lily Is Stressed by Winter Heat
The first step in reviving your peace lily is recognizing the signs of stress. Look for drooping leaves, which are often the most obvious indicator that your plant is not happy. The leaves may also develop brown tips or edges due to the dry air and lack of humidity. If your peace lily's leaves are turning yellow, it could be a sign of overwatering, which is another common issue when adjusting to winter conditions.
Additionally, if the flowers of your peace lily are wilting prematurely, this can indicate that the plant is not receiving enough moisture or that the air is too dry. By observing these signs early, you can take action to alleviate the stress on your peace lily and restore its health.
2. Check the Soil: Too Dry, Too Wet, or Just Compacted?
The state of the soil is crucial in determining how well your peace lily can cope with winter conditions. Check the soil moisture by sticking your finger about an inch into the soil. If it feels dry, it's time to water your plant. However, if the soil feels soggy or waterlogged, you may be overwatering, which can lead to root rot.
Compacted soil can also be a problem, as it restricts airflow to the roots. Gently loosen the top layer of soil with a fork or similar tool to improve aeration. Ensuring that your peace lily is planted in well-draining soil will help maintain the right balance of moisture.
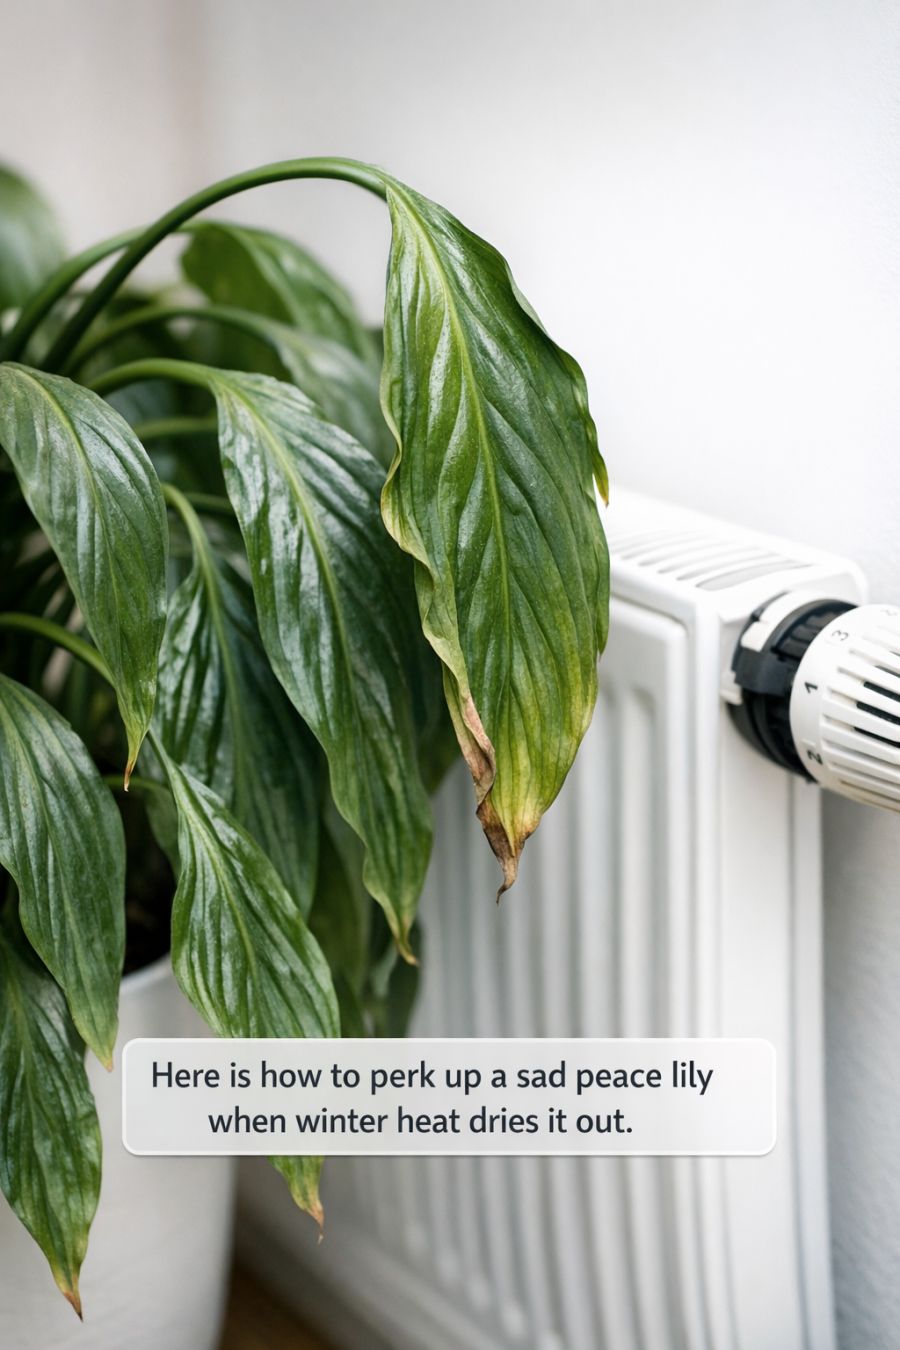
3. Move It Away From Radiators, Vents, and Drafty Windows
Peace lilies are sensitive to temperature fluctuations and should be kept away from radiators, vents, and drafty windows. These areas can cause the air around your plant to become too dry, leading to stress. Ideally, place your peace lily in a location where it can enjoy stable temperatures between 65°F and 80°F (18°C to 27°C).
If possible, use a room thermometer to monitor the temperature in different areas of your home to find a suitable spot for your peace lily. By avoiding these sources of dry air, you can create a more favorable environment for your plant.
4. Boost Humidity With Simple Home Hacks
Increasing the humidity around your peace lily can significantly improve its health during the winter months. One simple way to boost humidity is by grouping your peace lily with other plants. Plants naturally release moisture into the air, and when placed together, they can create a more humid microclimate.
Another effective method is to place a shallow tray of water near your plant. As the water evaporates, it will increase the humidity in the surrounding air. Be sure to refill the tray as needed to maintain consistent humidity levels.
5. Try the Viral Pebble-Tray and Humidifier Combo
The pebble-tray method is a popular way to increase humidity around your peace lily. To create a pebble tray, fill a shallow tray with pebbles and add water until it reaches just below the tops of the pebbles. Place your peace lily pot on top of the pebbles, ensuring the bottom of the pot is not in direct contact with the water.
For an added boost, consider using a humidifier in the room where your peace lily is located. A humidifier can help maintain consistent humidity levels, which is particularly beneficial during the dry winter months.
6. Master the Winter Watering Schedule
ADVERTISEMENT
ADVERTISEMENT
Continue reading by clicking the ( NEXT 》 ) button below !